

Table of contents


No headings in the article.
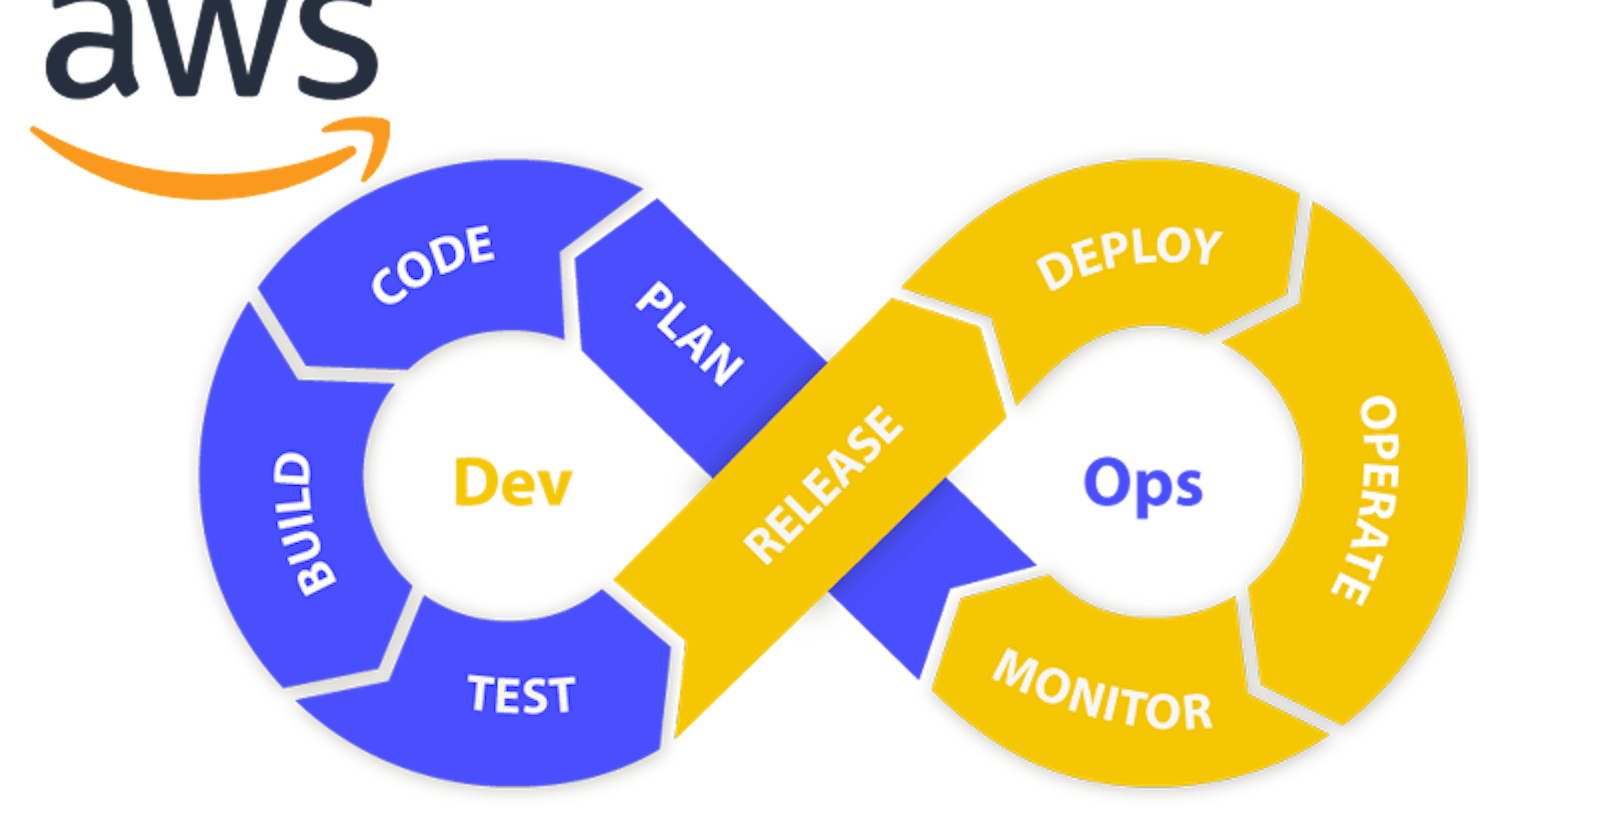
Today we learn about aws ec2 instance and local environment by deploying a simple To Do list app on AWS taken from GitHub which is a Django application. Now you have to break up the problem into parts, as a DevOps learner or engineer first you have to decide how you can tackle the problem and achieve your final goal. So let's see them one by one.
Also today's takeaways would be -
Learn terminal and VS code commands
python commands for running Django Apps
Creating a virtual python environment
Setting up code from GitHub
Now your mentality first is that you should copy the project in your local system and set it up. Let's get the Django to-do list from this repo by Shreys. It would look like the one below when you reach there.

All right now it's time for you to pull the repo in your local machine. To do this just open a terminal and paste the following command in your CLI.
git clone https://github.com/shreys7/django-todo.gitthis would copy the project from the, now CD into the repo and set the local environment of python using the command -
virtualenv -p python3.10 envversion as per installed in your system you would see an "env" folder created in the system. Also after hitting the command something like this would output in the terminal

Now activate the environment by entering the command
source env/bin/activate
Now you shall see a new env activated in the terminal and this is the place where you will do your work.
Now You will need Django to be installed on your computer to run this app. Head over to https://www.djangoproject.com/download/ for the download guide
Once you have downloaded Django, go to the cloned repo directory and run the following command
$ cd python manage.py makemigrations
This will create all the migrations files (database migrations) required to run this App.
Now, to apply these migrations run the following command
$ python manage.py migrate
One last step and then our todo App will be live. We need to create an admin user to run this App. On the terminal, type the following command and provide a username, password, and email for the admin user
$ python manage.py createsuperuser
That was pretty simple, right? Now let's make the App live. We just need to start the server now and then we can start using our simple todo App. Start the server by following the command
$ python manage.py runserver
Once the server is hosted, head over to http://127.0.0.1:8000/todos for the App.
So this is the first step in your DevOps journey where you see that if a server and app are running smoothly on your system or Not. There should be a mindset of debugging your problem and not just avoiding it. Get It??
- Now running the app ON AWS EC2 Instance
Also before everything run a command which is
pip freeze > requirments.txt
What this command will do is that this is gonna generate all the required dependencies that are required to run the app, as you don't want to run it manually again and again, the whole process is to automate something. You will see something like this or more these were my requirements
asgiref==3.6.0
Django==4.1.7
sqlparse==0.4.3
Run the below commands for commit changes
git checkout -b feature/deploy-app
git add .
git commit -m "Added requirments.txt"
Now set up AWS EC2 and ssh your instance console will look like this just copy your ssh key and you are good to go. As you have to run your app in this instance only
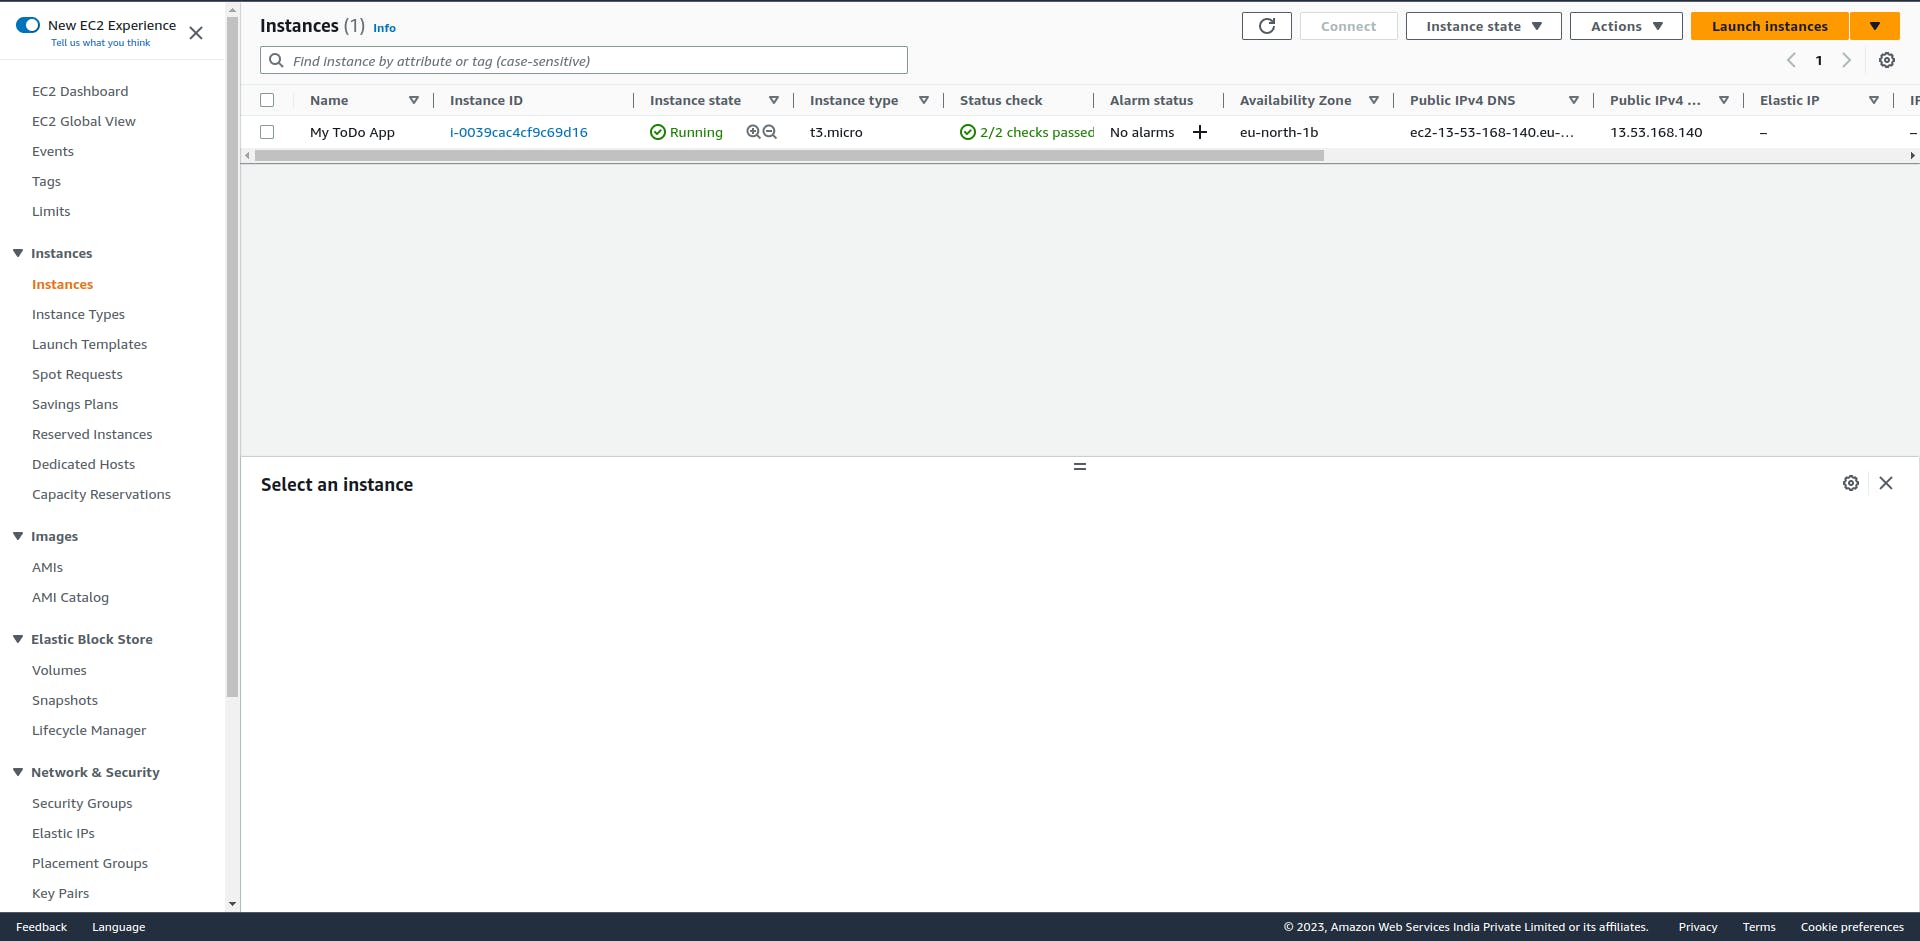
If you don't know how the AWS setup works just watch this tutorial video by Subham he has explained it well.
Now after setting up as you have to ssh into the system and Repeat all the same commands and steps as we did in the local system but this time on AWS Instance.
Use the command inside the project folder
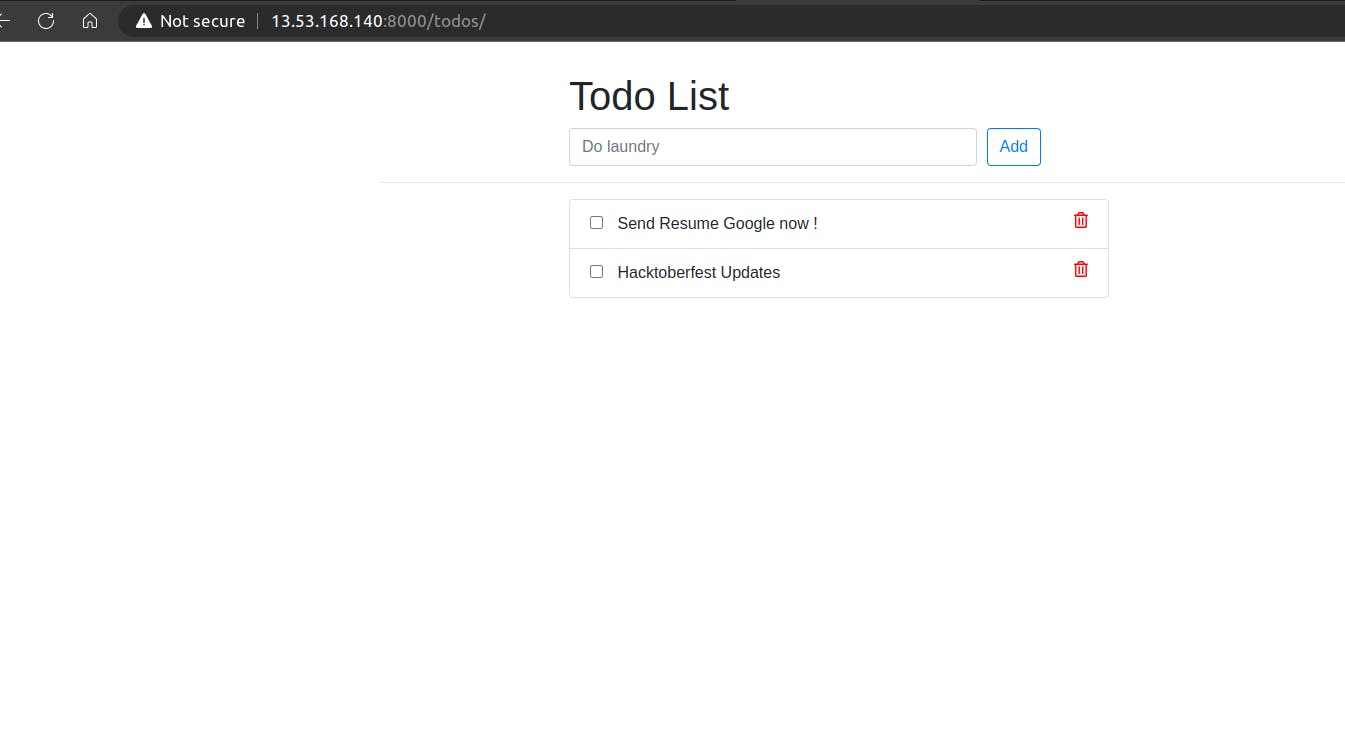
python3 manage.py runserver 0.0.0.0:8000
this command will expose your IP expose and now you can run it anywhere the output would look something like this

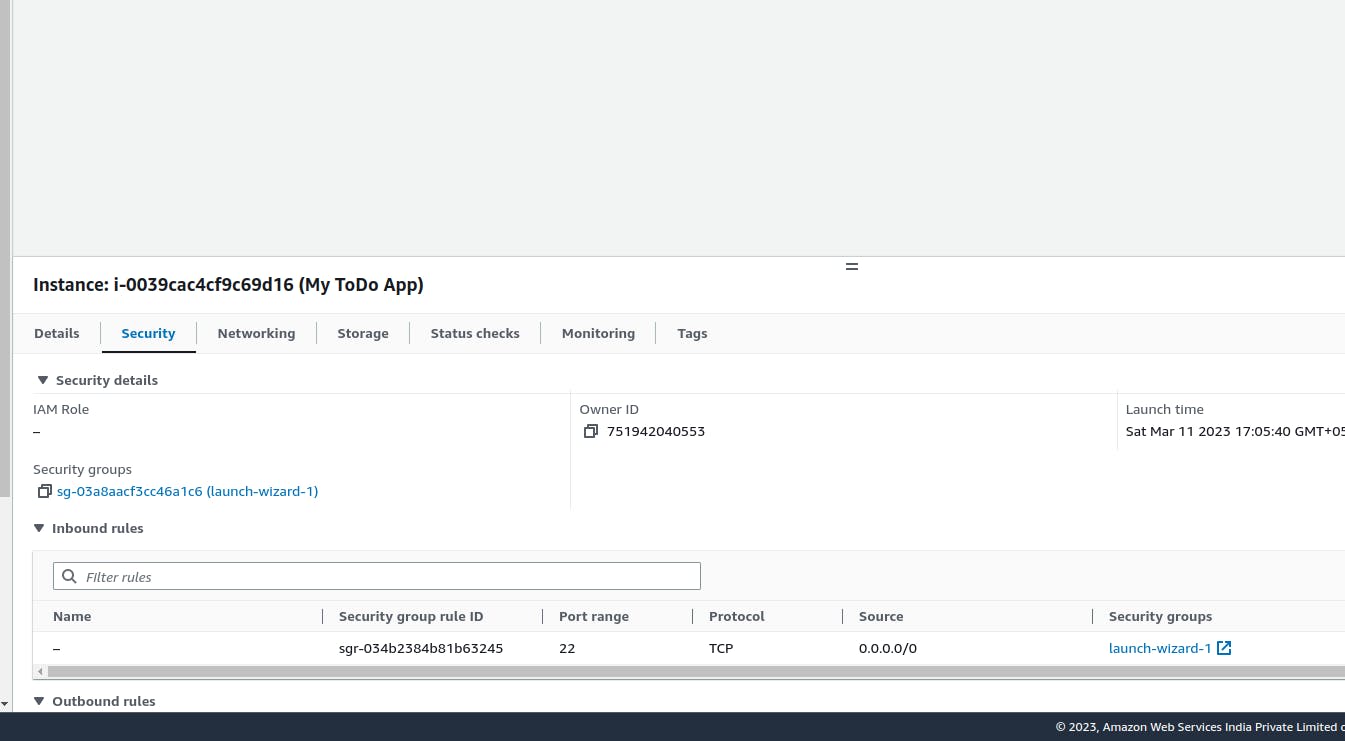
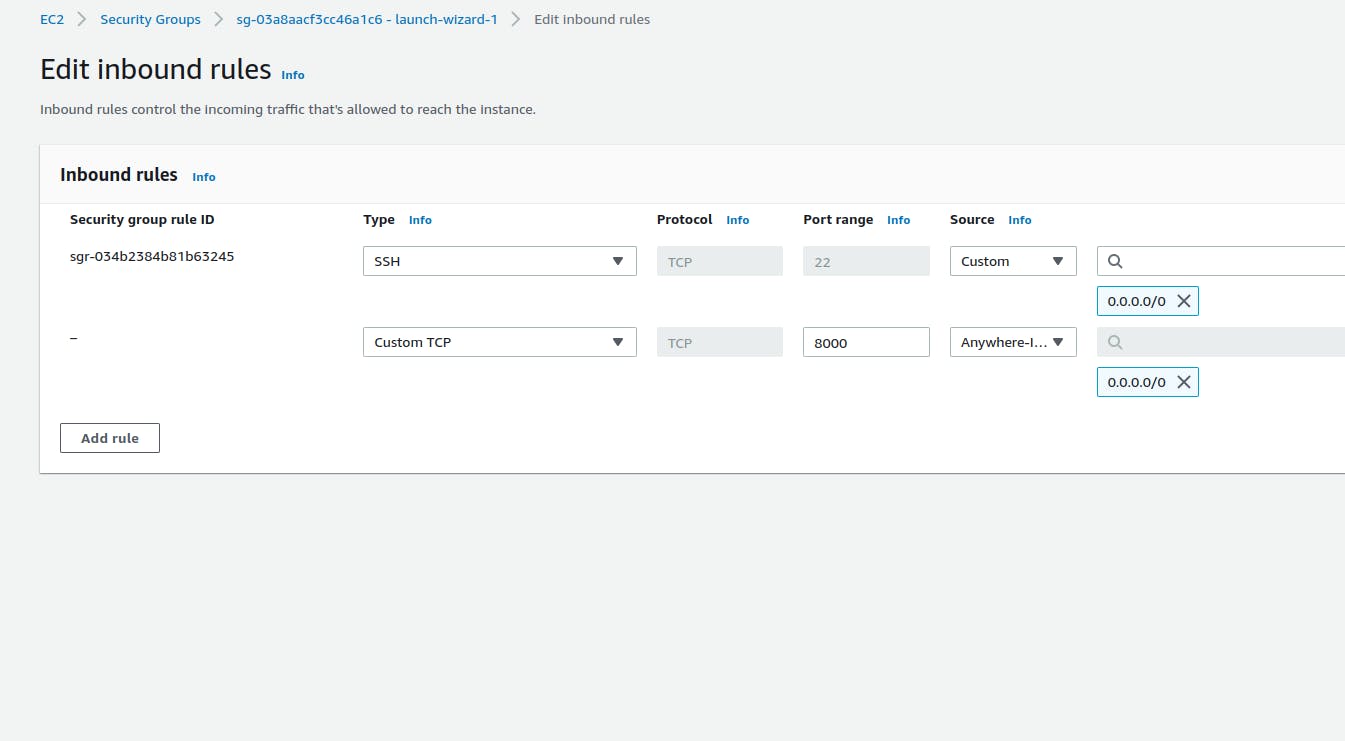
Now there is a concept called security groups in AWS EC2 you have to set up Inbound rules for that which basically means allowing all incoming traffic on your site.
Go to the security tab in the instance and add an inbound rule of "anywhere ipv4" and add your port entry point.
Also in settings.py add [*] in allowed_hosts line to allow all hosts even if the IP changes. Now put your Public IP address in the search bar and you can see your website up and running.